You are here: Adding Content to Laserfiche > Laserfiche Scanning > Standard Scanning Mode > Inserting New Pages (Standard)

Inserting New Pages

While reviewing scanned documents, you can scan an additional page into any location in a document.

Note: This feature can only be utilized for images that have not yet been stored in a Laserfiche repository. For information on scanning pages into images that have been stored, see Scanning into an Existing Document.
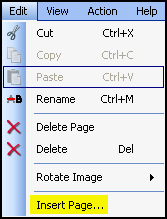
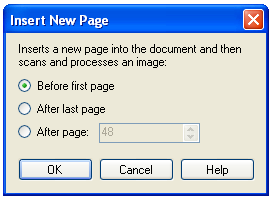
To insert a page

  1. Select a document in the Scanning Explorer Pane.
  2. Select Insert Page under ClosedEdit in the menu bar.

  3. In the ClosedInsert New Page dialog box, specify where the new page should be inserted.

  4. In the Laserfiche Scanning dialog box, select OK when you are ready to begin scanning. Any OCR and/or image enhancement processes assigned to the document will be applied. The new image will appear in the specified location.

Tip: When you have finished reviewing and modifying documents, store them in a Laserfiche repository.